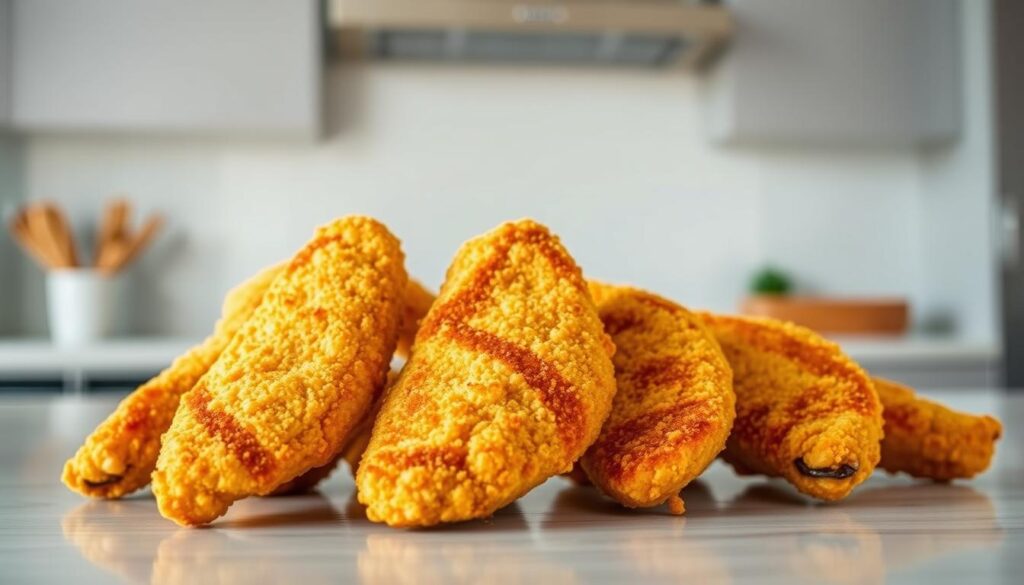
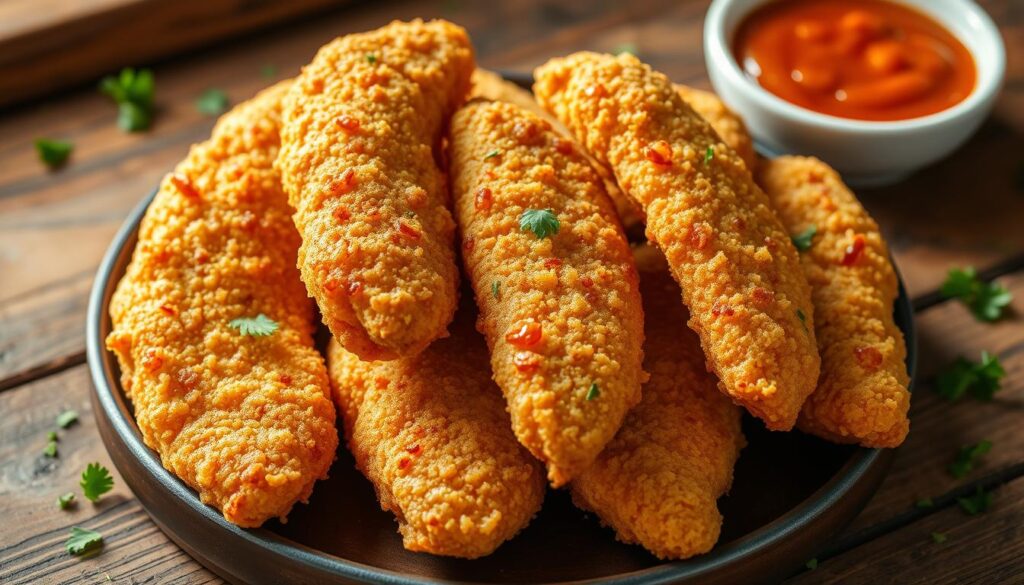
It’s Friday night, and your kids are begging for takeout. But instead of ordering in, you whip up golden, crunchy chicken strips. With just a few ingredients and a hot skillet, you create a meal that’s gone in no time.
Homemade chicken tenders are easy to make. You can fry them, bake them, or grill them for a smoky flavor. Our guide offers tips for diner-style frying and oven-baked crispiness. Plus, a tangy buttermilk marinade keeps them juicy. You can even add spicy paprika, garlic powder, or a honey glaze to suit your taste.
These tenders are perfect for any day. They’re great for weeknights or game-day snacks. You can make them gluten-free or use an air-fryer for a quick shortcut. Try three easy methods to make restaurant-quality bites at home.
Key Takeaways
- Master three cooking styles: frying, baking, and grilling for versatile results
- Use buttermilk marinades to ensure tender, flavorful meat every time
- Customize coatings and spices to suit dietary needs or taste preferences
- Achieve crunch without deep-frying using oven or air-fryer techniques
- Prep ahead for quick meals that satisfy even picky eaters
Essential Ingredients for Perfect Chicken Tenders
Making delicious chicken tenders starts with picking the right ingredients. You can choose crispy breaded or juicy marinated strips. Your choice of protein, coating, and seasonings will make the dish great. Let’s explore the key ingredients for a tasty chicken tenderloins recipe.
Main Components
Chicken tenderloins are the main attraction. They cook evenly and soak up flavors well. If you can’t find tenderloins, cut boneless chicken breasts into 1-inch strips. You’ll also need:
- All-purpose flour: It’s the base for crispy breaded chicken tenders
- Eggs: They help breadcrumbs stick
- Buttermilk (optional): It tenderizes the meat and adds a tangy flavor
There are many breading options, each with its own texture and taste. Here’s a quick look:
| Type | Texture | Best For | Notes |
|---|---|---|---|
| Traditional Flour | Light & Crispy | Quick Meals | Double-dip for extra crunch |
| Panko Breadcrumbs | Airy & Flaky | Oven-Baked | Adds Japanese-style texture |
| Buttermilk Batter | Thick & Juicy | Deep-Frying | Requires 2-hour marinade |
Flavor Boosters
Turn simple seasoned chicken tenders into flavor-packed dishes with these ingredients:
- Paprika: Adds smoky sweetness (2 tbsp per cup of flour)
- Garlic Powder: Brings savory depth (1 tbsp)
- Cayenne Pepper: Adds a touch of heat (1/2 tsp)
For a balanced seasoning, mix paprika, garlic powder, and onion powder in a 2:1:1 ratio. Pro tip: Add 1 tsp brown sugar for caramelized edges when baking. If you prefer milder flavors, skip the cayenne. For a spicy kick, add crushed red pepper flakes.
Required Kitchen Tools

Great chicken tenders start with the right tools. Whether you want crispy oven-fried chicken tenders or golden air fryer ones, the right equipment is key. Here’s what you need for each cooking method.
Basic Equipment
These everyday items are your cooking basics:
- Tongs: Flip tenders without piercing the crust
- Instant-read thermometer: Ensure 165°F internal temp
- Heavy-duty baking sheets: For oven-fried batches
- Mixing bowls: Perfect for dredging stations
A cast iron skillet is great for stovetop frying. It keeps heat well, giving you that restaurant-style chicken tenders crunch.
Specialty Gadgets
Take your cooking to the next level with these tools:
- Air fryer: Reduces oil by 70% vs deep-frying
- Grill press: Maintains contact for perfect sear marks
- Meat tenderizer: Ensures even thickness
| Cooking Method | Essential Tools | Specialty Gear |
|---|---|---|
| Oven-Fried | Baking sheet, wire rack | Parchment paper |
| Air Fryer | Non-stick basket | Perforated parchment |
| Cast Iron | Skillet, splatter screen | Deep-fry thermometer |
Pro tip: For restaurant-style chicken tenders, use a cast iron skillet with 1″ oil depth. The heavy base keeps heat steady for that golden crust everyone loves.
Preparation Essentials

Great chicken tenders start long before they hit the oven or fryer. Proper preparation ensures juicy meat and that satisfying crunch everyone loves. Let’s break down the two pillars of success: handling the chicken right and mastering the breading process.
Meat Preparation
Start by trimming excess fat and removing the tough tendon from each tender. Lay the chicken between parchment paper and gently pound thicker ends with a meat mallet for even cooking. Pro tip: Use the flat side of the mallet to avoid tearing the meat.
“Marinating in buttermilk isn’t just about flavor – the acidity tenderizes the chicken for that perfect bite.”
For crispy oven baked chicken tenders, soak the meat in buttermilk for at least 4 hours (up to 24 hours). This step:
- Boosts moisture retention
- Helps breading adhere better
- Adds subtle tanginess
Always marinate in the refrigerator and use separate cutting boards for raw poultry to prevent cross-contamination.
Breading Station Setup
The secret to restaurant-quality results? A three-stage breading technique perfected by chefs:
- Flour Base: Season all-purpose flour with salt and pepper
- Egg Wash: Whisk eggs with a splash of milk
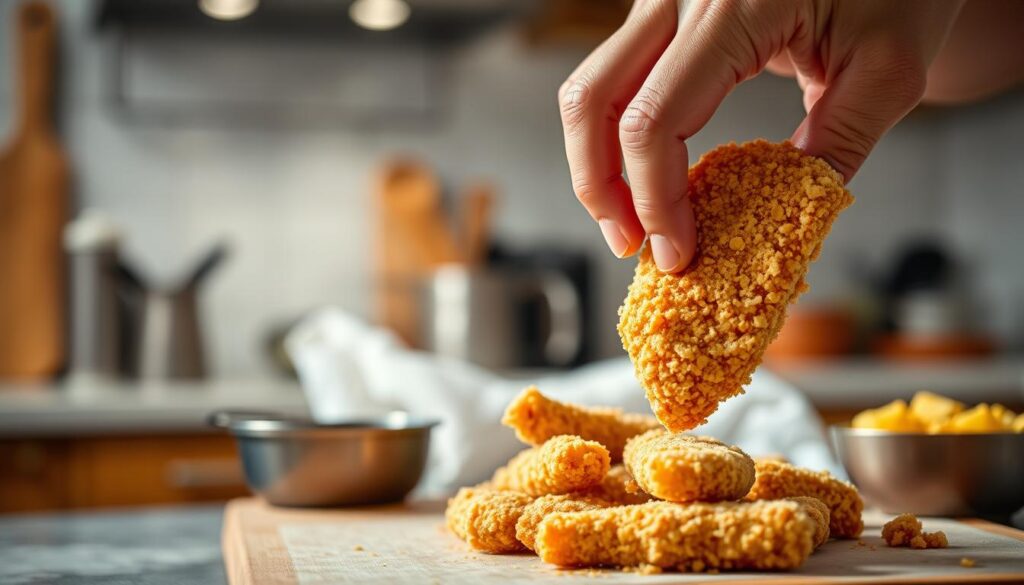
- Final Coating: Add breadcrumbs or panko to seasoned flour
| Stage | Purpose | Pro Tip |
|---|---|---|
| First Flour | Creates sticky surface | Use one hand for dry ingredients |
| Egg Wash | Binds coatings | Add hot sauce for extra flavor |
| Final Coating | Forms crispy shell | Press crumbs firmly |
Let breaded tenders rest 10 minutes before cooking. This crucial step helps the coating set, preventing it from falling off during baking or frying. For extra-crispy results, some cooks double-dip in the egg wash and final coating.
Classic Baked Chicken Tenders Method

Want crispy chicken tenders without the extra oil? This oven method uses 85% less oil than frying. It’s a smart way to make restaurant-quality tenders that everyone will love.
Step 1: Preheat and Prep
First, heat your oven to 400°F (205°C). This temperature helps get the tenders crispy without drying them out. While it heats up, prepare a baking sheet with parchment paper or a wire rack.
The rack helps air circulate around the tenders. This ensures they cook evenly on all sides.
Step 2: Breading Process
Set up a three-stage breading station for extra crunch:
- Flour mixture: 1 cup all-purpose flour + 1 tsp garlic powder
- Egg wash: 2 large eggs + 2 tbsp milk
- Toasted panko: 1.5 cups panko breadcrumbs browned in a dry skillet
Pro Tip: Toasting panko breadcrumbs in a skillet for 3-4 minutes makes them crunchier. Coat each tender in flour, then egg wash, and lastly, press into toasted crumbs. This order helps the crumbs stick well.
Step 3: Baking Perfection
Place the breaded tenders on the sheet, leaving 1″ space between each. Bake for 10 minutes, then flip them using tongs. Bake for another 5-8 minutes until they’re golden brown and the inside is 165°F (74°C).
Make-Ahead Magic: Freeze unbreaded tenders on a parchment-lined tray for 1 hour. Then, put them in freezer bags. They’ll last 3 months. Bake frozen tenders at 400°F for 18-22 minutes.
Reheating Hack: To reheat leftovers, use a 375°F oven for 8 minutes. Or, air fry at 390°F for 4 minutes. Don’t microwave them, as it makes the coating soggy.
Air Fryer Chicken Tenders Technique
Want crunchy chicken tenders with less oil? Your air fryer is the answer. It cooks faster than oven-baking and gives restaurant-quality crispiness. It also uses much less oil than deep-frying, great for those watching their health.
Step 1: Air Fryer Setup
First, heat your air fryer to 380°F. It usually takes 3-5 minutes to get there. Lightly spray the basket with avocado oil, as it has a higher smoke point than olive oil. For extra crispiness:
- Use parchment liner with pre-cut holes
- Maintain ½” space between tenders
- Work in batches if needed
Step 2: Cooking Process
Place breaded tenders in a single layer. Then, cook for:
| Doneness Level | Time | Flip Required? |
|---|---|---|
| Golden Brown | 7-8 minutes | Yes (at 4-minute mark) |
| Extra Crispy | 9-10 minutes | Yes + extra oil spray |
Pro Tip: For gluten-free tenders, use crushed rice cereal instead of breadcrumbs. The air fryer’s rapid air flow gives the same crunch without wheat.
Air Fryer vs Traditional Methods
| Method | Cook Time | Oil Used | Crispiness |
|---|---|---|---|
| Air Fryer | 8-10 mins | 1 tsp | High |
| Oven Baking | 18-20 mins | 2 tbsp | Medium |
| Deep Frying | 6-8 mins | 4 cups | High |
This quick chicken tenders recipe is perfect when you’re in a hurry but want that satisfying crunch. For the best results, let the tenders rest for 2 minutes before serving. They’ll stay crispier longer!
Grilled Chicken Tenders Variation
Take your chicken tenders outdoors with this smoky twist. It’s like your favorite steakhouse appetizer. Grilling brings out deeper flavors and keeps the meat tender. We’ll show you how to get those perfect grill marks without losing juiciness.
Marinating for Juiciness
Great grilled chicken tenders start with a bath. A good marinade has oil, acid, and herbs/spices. For restaurant-style results, try:
- Olive oil + lime juice + smoked paprika
- Greek yogurt + lemon zest + garlic (creates tangy crust)
- Pineapple juice + soy sauce + ginger (natural tenderizer)
Marinate for 30 minutes to 4 hours. Longer can make the meat mushy. Pat dry before grilling to avoid flare-ups.
Grilling Temperature Control
Set up your grill with two zones: high heat (450°F) for searing and medium (375°F) for cooking. Sear tenders 2 minutes per side over direct heat. Then, move them to the cooler zone.
Close the lid and cook 5-7 more minutes, flipping once. For a subtle smoke, add soaked wood chips to charcoal or a smoker box:
- Hickory: Bold, bacon-like flavor
- Applewood: Sweet, mild tang
- Mesquite: Intense smokiness (use sparingly)
Check internal temps with an instant-read thermometer—165°F means they’re done. Let rest 3 minutes before serving to redistribute juices.
Gluten-Free Adaptation
Gluten-free doesn’t mean you can’t have crunchy chicken tenders. Smart swaps can make your dish crispy and delicious for everyone. Let’s see how to keep your recipe tasty and crunchy without gluten.
Alternative Breading Options
Forget traditional flour with these great alternatives:
| Flour Type | Texture | Best For |
|---|---|---|
| Almond flour | Nutty & crisp | Low-carb diets |
| Rice flour | Light & airy | Classic crunch |
| Crushed pecans | Rich & crunchy | Flavor enthusiasts |
Gluten-free panko is perfect for that crispy shatter. Mix 2 parts panko with 1 part Parmesan (make sure it’s gluten-free) for extra crunch.
Binding Agent Solutions
Gluten-free batters need smart substitutions:
- Cornstarch slurry: 1:1 ratio with cold water
- Arrowroot powder: Creates golden crusts
- Egg wash: Classic binding with extra protein
“Always use separate utensils for gluten-free prep – even trace amounts can affect sensitive diners.”
For buttermilk marinades, use Bob’s Red Mill 1:1 Baking Flour instead of regular flour. Let the chicken soak for 30 minutes. The acids tenderize it, and the flour helps the breading stick.
Spicy Chicken Tenders Version
Turn regular chicken tenders into a flavorful treat with adjustable heat and layered seasonings. This recipe combines spicy kick with cool dips, letting you pick the heat level. It’s great for game nights or family dinners, and works well with baking or air frying.
Heat Level Customization
Choose your spice level. Start with cayenne pepper, then add more heat with optional ingredients:
- Mild: ½ tsp paprika + ¼ tsp garlic powder
- Medium: 1 tsp chili powder + ½ tsp cayenne
- Hot: 2 tsp crushed red pepper + 1 tsp ghost pepper powder
For extra heat, marinate chicken in hot sauce buttermilk. Pro tip: Wear gloves when handling spicy powders to avoid skin irritation.
| Heat Level | Key Ingredients | Suggested Dips |
|---|---|---|
| Mild | Smoked paprika, black pepper | Honey mustard, ranch |
| Medium | Chipotle powder, cayenne | Blue cheese, avocado crema |
| Hot | Ghost pepper, habanero flakes | Cucumber yogurt, sweet chili |
Signature Spicy Breading Mix
Season both the flour coating and final garnish for extra flavor. This double-layer seasoning makes every bite delicious:
- Combine 1 cup flour with 2 tsp garlic powder and 1 tsp onion powder
- Mix in 1-3 tsp of your chosen spice blend
- After cooking, dust tenders with extra chili flakes or cayenne
Add ¼ cup cornstarch to the breading for extra crunch. Serve with cool dips to balance the heat. This makes the seasoned chicken tenders hard to resist!
Buttermilk Marinated Tenders
Buttermilk is key to making restaurant-style chicken tenders. It breaks down proteins with lactic acid, making the chicken tender. Soak your meat for at least four hours, or overnight for the best results.
Looking for a substitute? Mix one cup of milk with one tablespoon of vinegar or lemon juice. Greek yogurt also works well, adding thickness. For gluten-free options, use almond flour or crushed cornflakes in the breading.
Freeze uncooked strips on parchment-lined sheets and then bag them. They’ll last three months in the freezer. To reheat, use a 375°F oven or air fryer until hot. A light oil spritz adds crunch without greasiness.
This method turns simple chicken into a delicious main dish. Try them with honey mustard or ranch for dipping. Or, chop them over salads. Once you try this, you’ll forget about fast food chicken tenders. Your kitchen is now the go-to spot for chicken tenders.