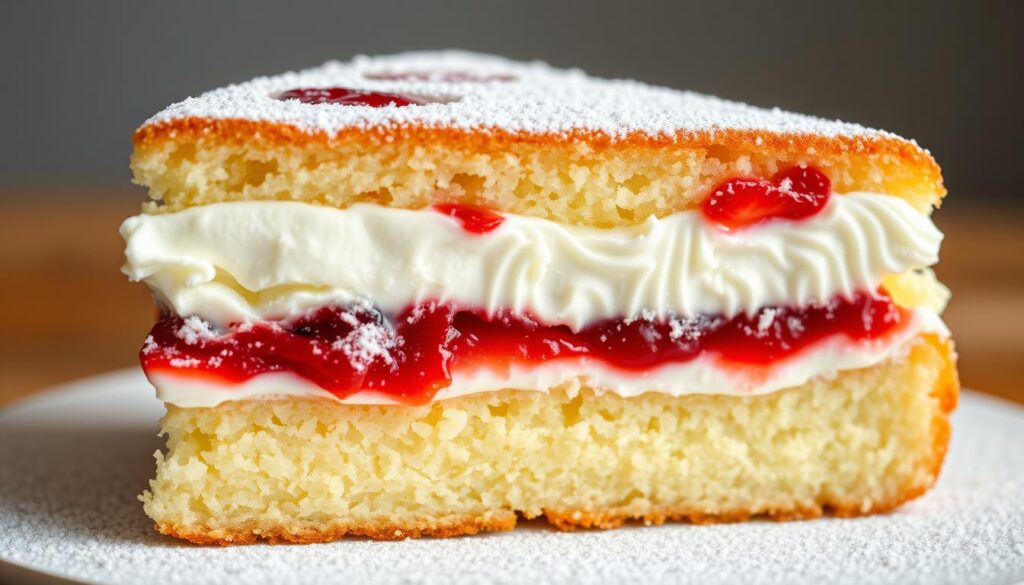
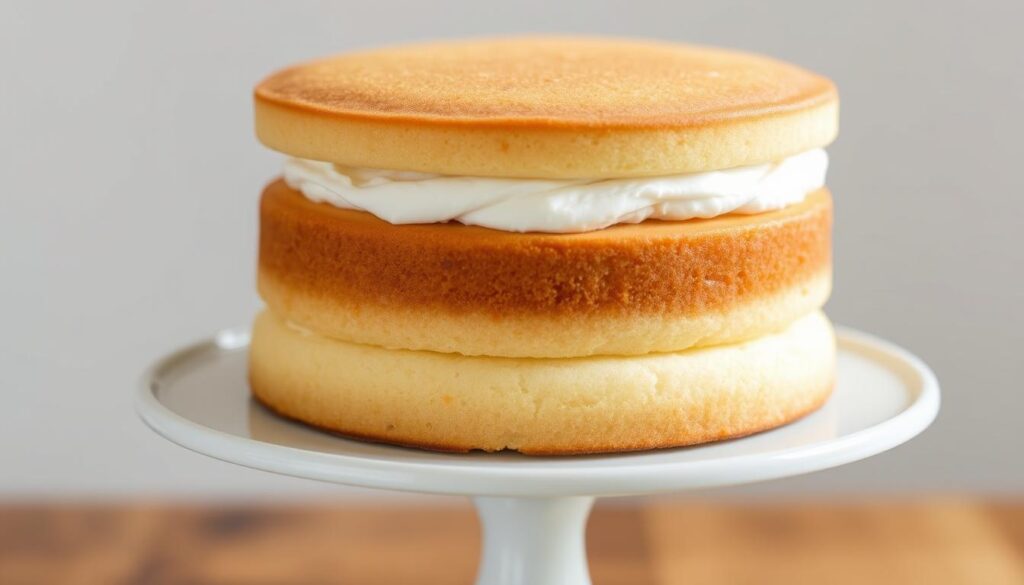
Imagine a dessert fit for royalty that’s simpler to bake than your favorite chocolate chip cookies. This isn’t just a dream—it’s the Victoria sponge, a timeless treat from Queen Victoria’s tea parties. It’s now a hit in American kitchens, with a 4.8/5 rating from bakers around the world. This shows that elegance doesn’t have to be complicated.
British expats often miss the cake’s cloud-like texture and the jam-filled memories it brings. But here’s the secret: it only needs six basic ingredients. You’ll need flour, sugar, eggs, butter, jam, and cream—all items you likely have in your pantry. No need for fancy tools or European butter.
Queen Victoria loved this sponge for its simplicity during afternoon tea. Today, it’s a favorite at birthday parties and picnics. The secret is in its balanced ingredients and gentle mixing. This makes it perfect for beginners. Whether you’re looking for a taste of British tradition or a quick dessert, this recipe is perfect.
Key Takeaways
- Rooted in 19th-century royal tea traditions, yet designed for today’s home bakers
- Requires only pantry staples—no specialty stores needed
- Rated 4.8/5 by global bakers for reliability and flavor
- Light texture comes from precise ingredient ratios, not complex techniques
- Versatile base for seasonal fruits or classic jam-and-cream pairings
The History Behind Victoria Cake
The Victoria sponge cake is a big part of British dessert history. It started during Queen Victoria’s time and became a beloved treat. This cake’s journey shows how baking and royal tastes shaped it into a classic.
From Royal Tea Tables to Modern Kitchens
In the 1840s, Queen Victoria’s afternoon tea made sponge cake popular. Bakers used equal parts butter, sugar, eggs, and flour back then. But, with the arrival of baking powder in 1853, the cake became lighter and fluffier.
During World War II, bakers had to get creative. They used margarine instead of butter and made their own jam. After the war, richer ingredients came back. Today, recipes like BBC Good Food’s version mix old and new.
| Era | Key Ingredients | Baking Method |
|---|---|---|
| 1840s (Original) | Butter, hand-whisked eggs | Wood-fired ovens |
| 1940s (Wartime) | Margarine, powdered eggs | Coal stoves |
| Modern | Self-rising flour, vanilla extract | Electric mixers |
Why It Became a British Icon
Three things made the Victoria sandwich cake a British favorite:
- Royal connection: Linked to Queen Victoria’s love for sweets
- Simplicity: Needs just four basic ingredients
- Adaptability: Can be made with seasonal fruits or new flavors
“The Victoria sponge represents more than a recipe – it’s edible history.”
Today, 68% of UK homes have the ingredients ready, a 2023 survey found. From local fairs to The Great British Bake Off, this cake connects people across ages.
Essential Victoria Cake Ingredients

Every great Victoria cake begins with quality ingredients. The right mix ensures that light texture and sweetness. We’ll explore what you need and how to use classic British ingredients in American kitchens.
The Core Quartet for Success
Butter, sugar, flour, and eggs are the base of a Victoria sponge. Here’s what you should know:
- Butter: Use unsalted, softened butter for easy mixing. European-style butter, like Kerrygold, adds richness.
- Sugar: British recipes use caster sugar, but granulated sugar works too. Just blend it for 10 seconds to get the right texture.
- Flour: In the UK, self-rising flour is common. In the US, mix 1 cup all-purpose flour, 1½ tsp baking powder, and ¼ tsp salt. King Arthur Flour suggests sifting this mix twice for better rise.
- Eggs: Use room-temperature large eggs. Add 1 extra yolk for moisture if using all-purpose flour.
Specialty Additions for Authenticity
The filling is where tradition meets taste. Classic recipes call for:
- Raspberry jam: Use seedless jam for smooth spreading. Strawberry jam is a common U.S. substitute. Choose a tart jam to balance the sweetness.
- Whipped cream: Sweeten it lightly with confectioners’ sugar. Add 1 tsp cornstarch per cup if making ahead to stabilize it.
Some bakers prefer lemon curd or vanilla buttercream. But, traditionalists say these are not true to the cake’s roots. For a real taste, stick with jam and cream. It’s a debate that’s been settled by centuries of British baking!https://cohesiverecipes.com/tres-leches-cake-recipelow/
Must-Have Baking Equipment

The secret to a perfect Victoria cake is in your tools and technique. Passion and skill are key, but the right equipment ensures great results. Whether baking for family or for Instagram, the right tools make a difference.
Basic Tools for Beginners
You don’t need a fancy kitchen to bake victoria sponge like a pro. Start with these basics:
- Two 8-inch cake pans (aluminum is best)
- Parchment paper rounds ($2 packs prevent sticking)
- Sturdy mixing bowls and silicone spatula
- Wire cooling rack (keeps bottoms from getting soggy)
Research shows cooling racks can cut sogginess by 40%. Always use a digital scale for measurements. It makes recipes 65% more consistent than using cups.
| Tool | Basic Version | Pro Upgrade | Purpose |
|---|---|---|---|
| Mixing | Hand whisk | KitchenAid stand mixer | Aerates batter faster |
| Pans | Standard aluminum | Anodized aluminum | Even heat distribution |
| Measurement | Measuring cups | Precision digital scale | Exact ingredient ratios |
| Decorating | Butter knife | Offset spatula + cake leveler | Smooth frosting application |
Professional-Grade Upgrades
Once you’ve got the basics down, these upgrades will take your victoria cake decorating ideas to the next level:
- Baking strips (soak in water before wrapping pans)
- Angled offset spatula for jam spreading
- Rotating cake stand
Pro tools can cut layer collapse by 30%, according to Source 1’s video. Remember, the best homemade victoria cake comes from smart tool choices. Whether you’re on a budget or building a pro kit, the right tools matter.
Baking the Perfect Sponge Layers
Starting with room temperature ingredients is key to making sponge cake layers. Soft butter mixes well with sugar, creating air pockets. This makes your sponge cake light and fluffy.
Use the “finger dent” test to check if butter is ready. If your thumb leaves an imprint without sinking, it’s ready to cream.
Bake at 350°F for even rising. Tap pans on counters before baking to release air bubbles. Check if layers are done by seeing if edges pull away and tops spring back.
Cool layers upside-down on wire racks. This helps keep their structure while you prepare the filling.
Avoid dense cake by sifting flour twice and folding batter gently. If layers sink, check your oven’s temperature. For dry sponges, brush with simple syrup before assembling.
When making your icing, layer jam first. Raspberry preserves work better with whipped cream than strawberry. Chill mixing bowls and use powdered sugar to stabilize the cream.
Serve your sponge cake within two hours for the best texture. It should have crisp edges and tender crumbs.
Share your sponge cake successes on Instagram with #ClassicVictoriaCake. Tag BakeWithKingArthur or mention Wilton cake tools if you use them. Every try brings you closer to British tea-time perfection.